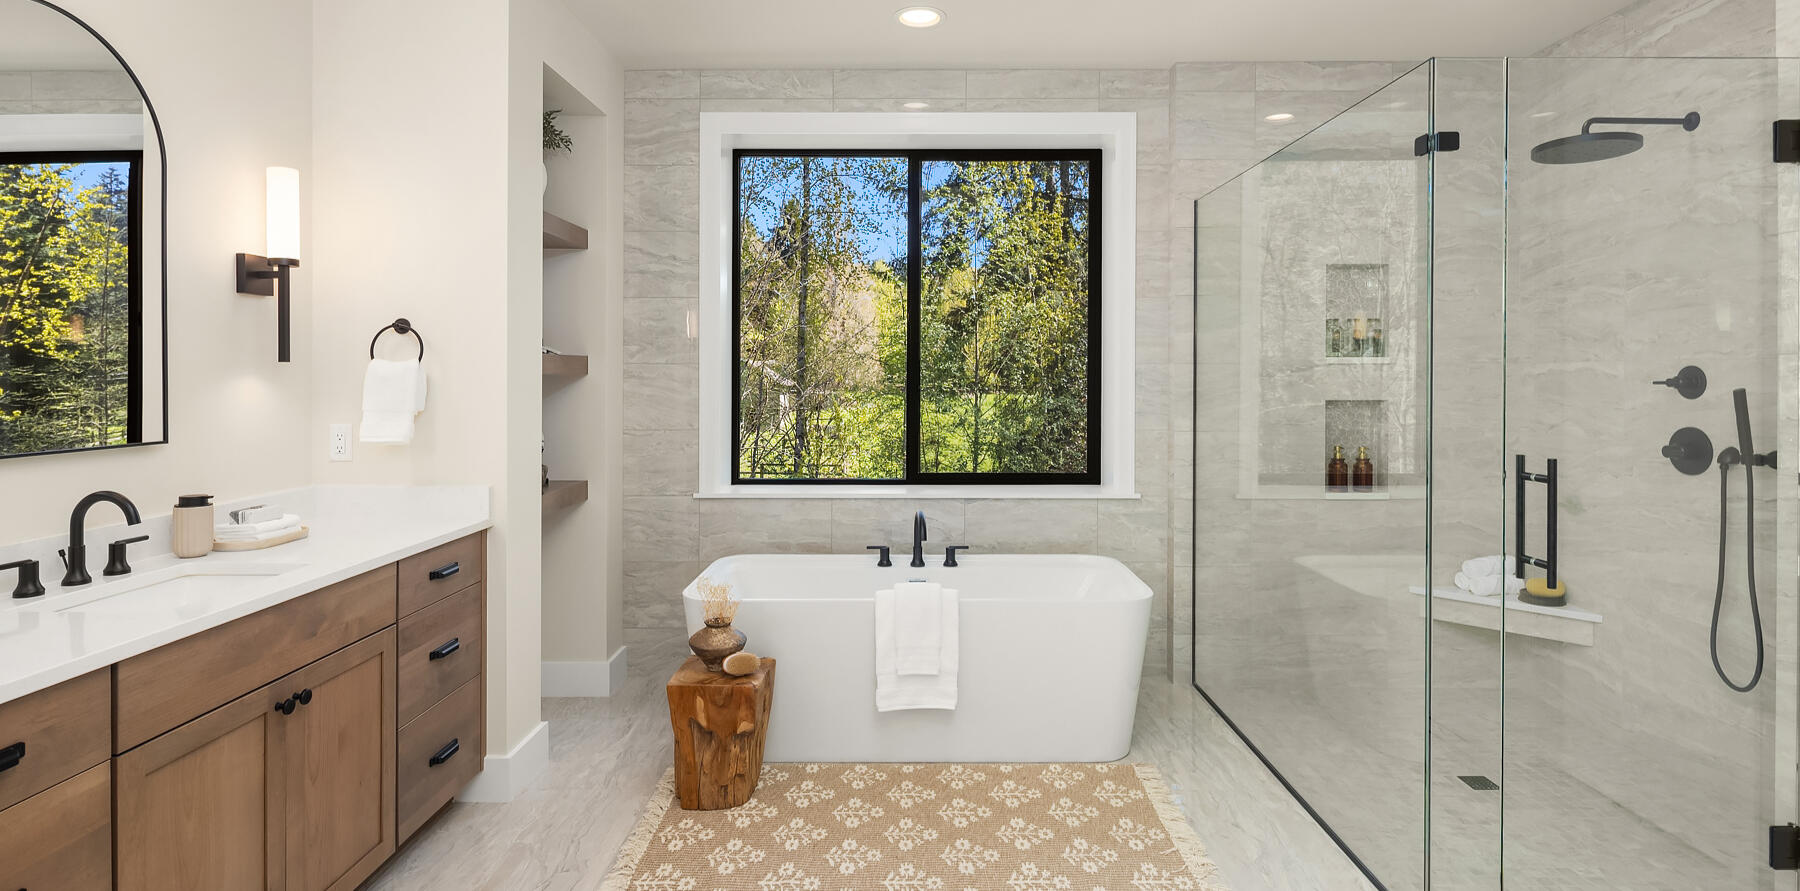
Before You List:
A Real Estate Photographer's
Guide to Cheap Fixes
Some of the most impactful improvements sellers can make before listing photos cost almost nothing. These are the cheap, easy fixes I see make the biggest difference in how a home photographs — and the products that make each one easier.
As an Amazon Associate, I earn from qualifying purchases. Some links on this page are affiliate links — if you purchase through them, I may earn a small commission at no extra cost to you. This helps support the creation of free home-preparation resources for sellers.
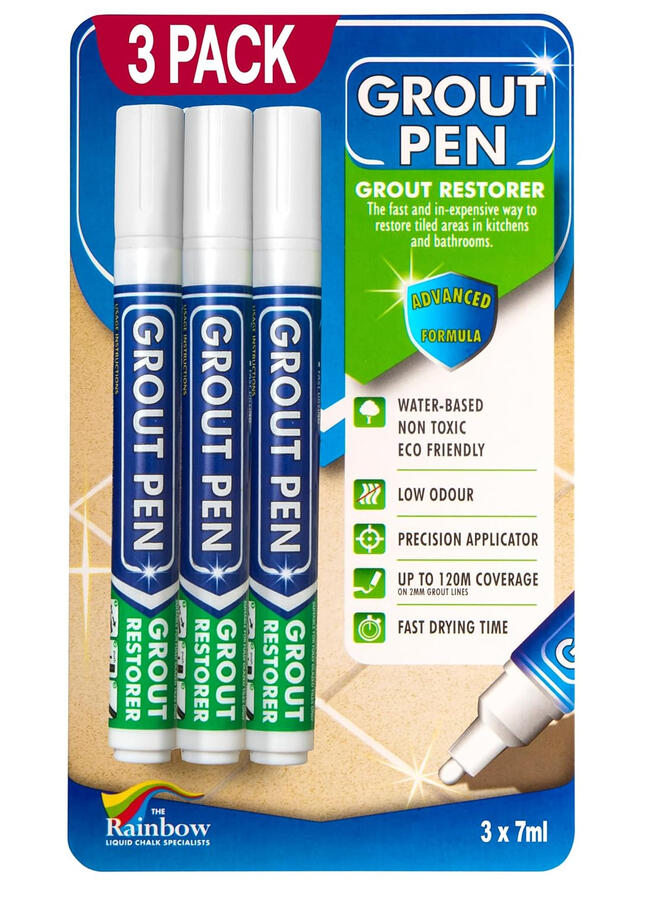
Step 1 — Whiten the Grout
Dirty grout is one of the most common things that makes kitchens and bathrooms look dated in listing photos — and one of the cheapest things to fix.Why it matters: Gray or brown grout makes buyers think 'this needs work.' White grout makes the same tiles look clean and maintained. An easy fix that changes how an entire room photographs.
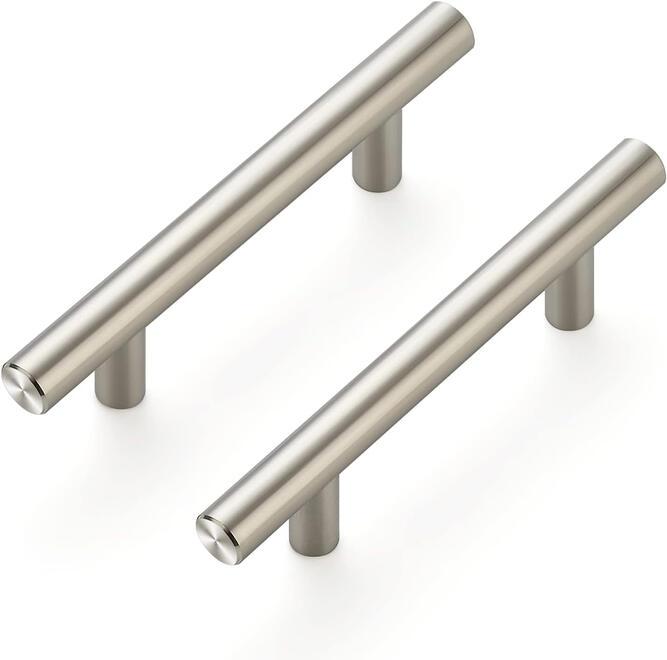
Step 2 — Swap the Cabinet Hardware
Dated cabinet pulls and knobs are one of the most visible signs that a kitchen or bathroom hasn't been updated — and one of the cheapest things to change.Why it matters: Buyers mentally price kitchens based on how updated they look. New hardware changes what buyers think about the cabinets — and that perception influences offers.
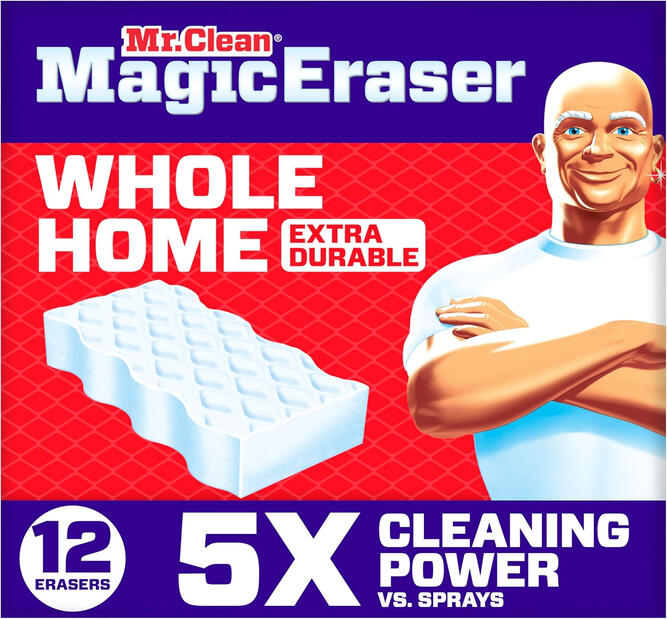
Step 3 — Erase Wall Marks
Scuffs and fingerprints around light switches, door frames, and hallways are invisible at eye level and very visible in listing photos taken with wide-angle lenses and flash.Why it matters: A single mark on a wall in a listing photo tells buyers 'this home has been lived in hard.' Removing it tells buyers 'this home has been taken care of.' Same wall — different message.
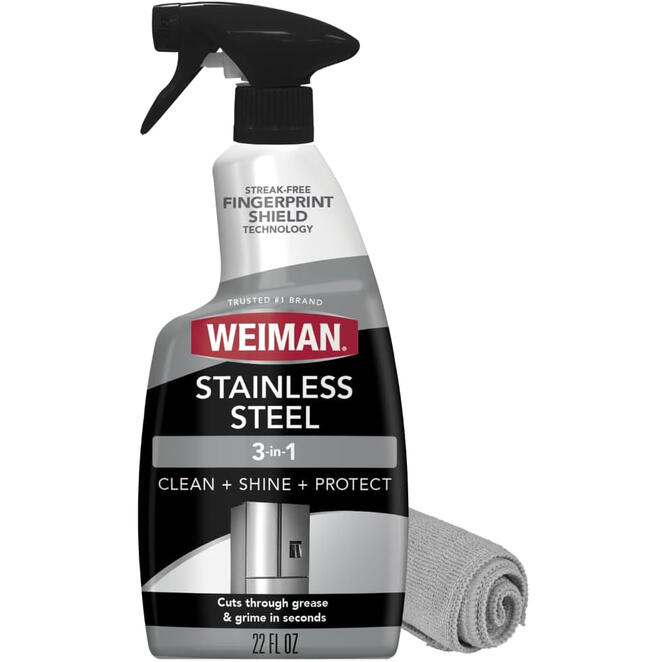
Step 4 — Clean the Stainless Appliances
Fingerprints and smudges on stainless steel are the most common thing photographers address in kitchens before the first shot. Camera flash finds smudges that eyes miss completely.Why it matters: Clean stainless photographs as 'new.' Smudged stainless photographs as 'used.' An inexpensive bottle of stainless cleaner closes that gap immediately.
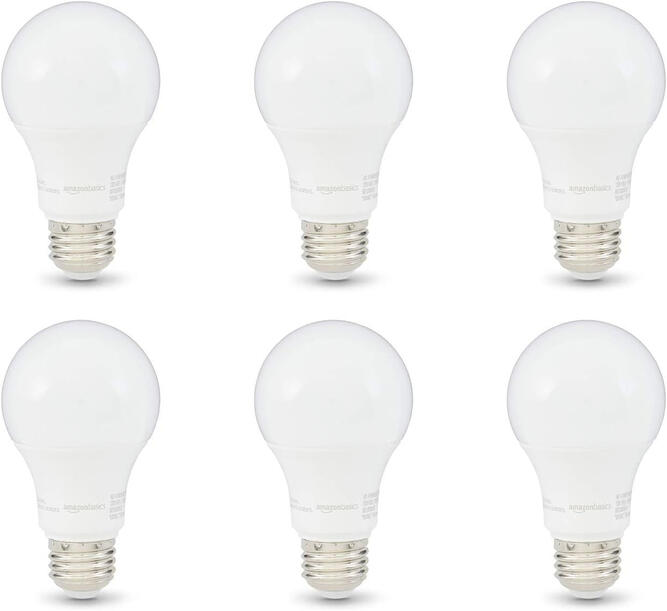
Step 5 — Replace the Light Bulbs
Harsh white or mixed-temperature bulbs make rooms feel clinical and cold in listing photos. Replacing every bulb with soft white (2700K) before photos is one of the cheapest and most impactful things sellers can do.Why it matters: The warmth that soft white bulbs add can't be fully replicated in editing. The difference between a warm room and a clinical room in listing photos often comes down to bulb temperature.
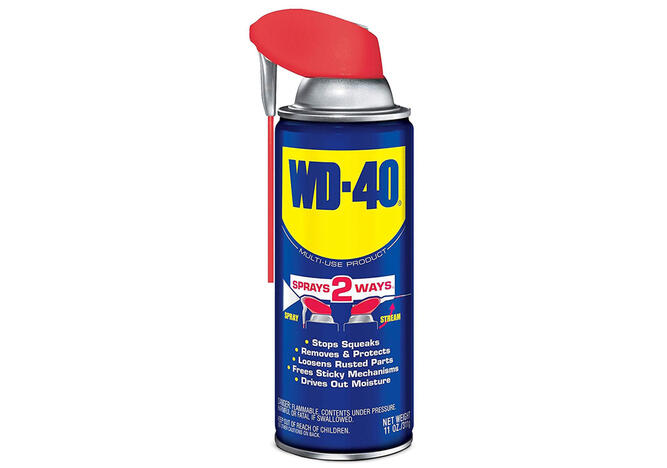
Step 6 — Silence Squeaky Doors Before Showings
A squeaky door or sticky hinge is noticed by every buyer who walks through the home — and it creates a subconscious impression of deferred maintenance.Why it matters: Buyers notice things that make noise and things that don't work smoothly. A squeaky door is a small thing that creates a disproportionately negative impression during showings.
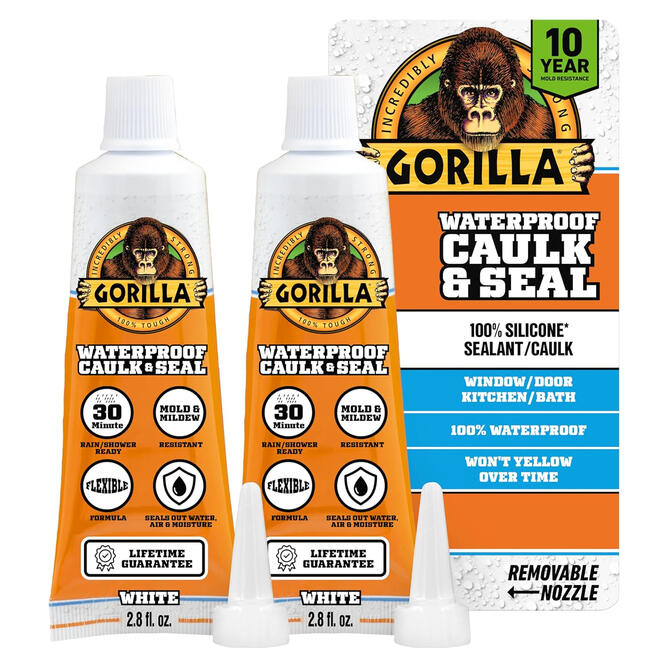
Step 7 — Recaulk Around Tubs, Sinks, and Counters
Cracked, discolored, or missing caulk around tubs, sinks, and countertops is one of the most common things buyers photograph during showings to share with their inspector.Why it matters: Fresh white caulk makes a bathroom or kitchen look maintained and sealed. Failed caulk makes buyers wonder about water damage. An easy fix that removes a significant buyer objection.
You May Also Like
• Home Photo Prep Checklist
• Cheap Fixes Before Listing Photos
• How to Make Your Home Smell Good Before Listing
• Bedroom Staging Tips for Listing Photos
• Curb Appeal Tips for Listing Photos
More Guides for Home Sellers
Before Listing
• Kitchen Fixes Guide
• Bedroom Staging Tips
• Living Room Staging Tips
• Home Office Staging Tips
• Entryway Staging Tips
• Curb Appeal Ideas
After Selling
• Moving Checklist After Selling
• Deep Clean Before Moving Out
• First Week in Your New Home